Overview & Compatibility
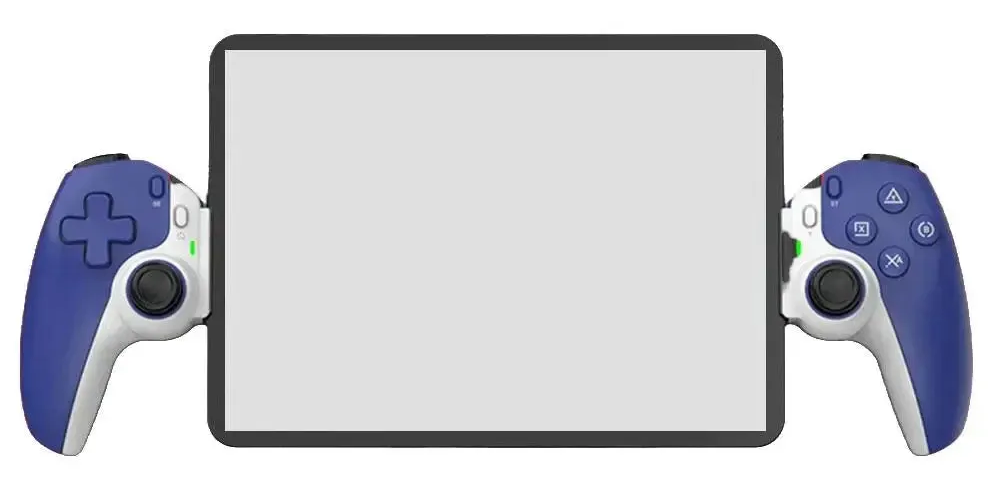
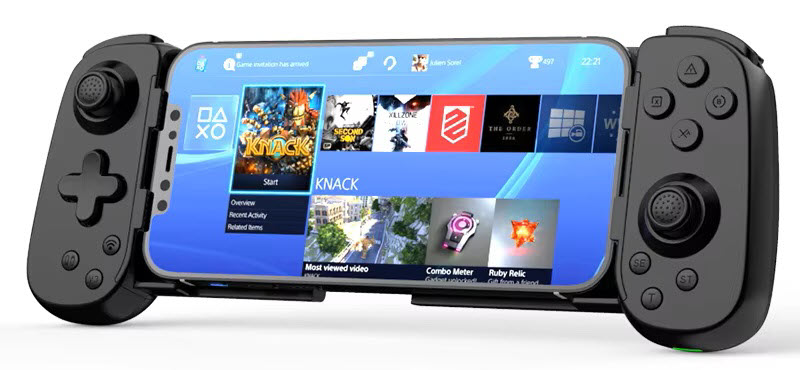
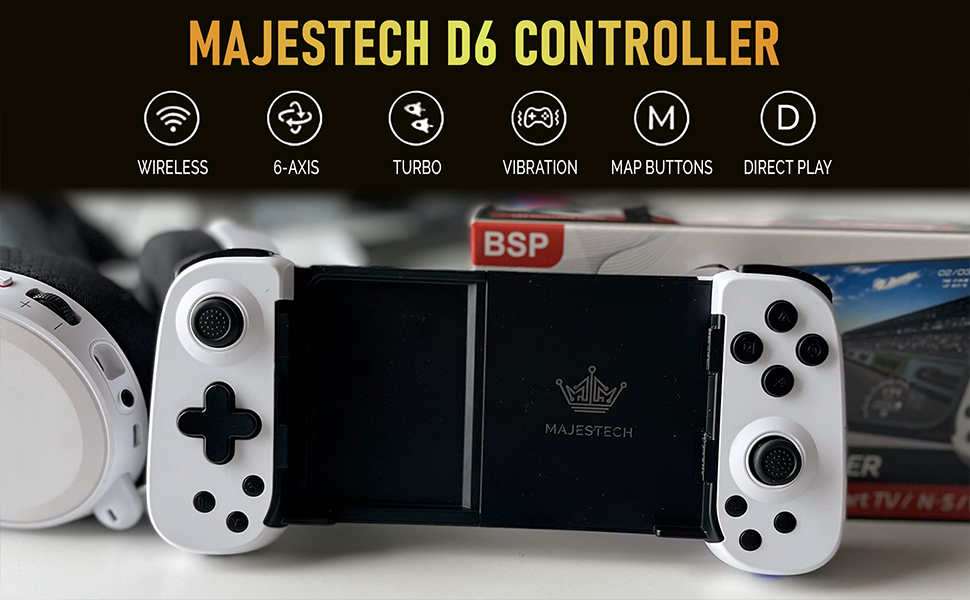
The BSP D6 is an ergonomic wireless controller with a telescopic phone grip that accommodates devices from 127mm to 180mm wide. Built on Bluetooth 5.0 EDR/BLE, it supports more connection modes than most controllers in its class — including a dedicated 2.4G wireless receiver option and deep Android integration via the ShootingPlus V3 app.
The D6 is compatible with:
- Android — Standard HID mode and ShootingPlus V3 touch-mapping mode
- HarmonyOS — Same setup as Android
- iOS 13.4+ — Single-touch mode
- iOS 13.0+ MFi games — Full MFi gamepad support
- Nintendo Switch — With gyroscope and dual rumble support
- Windows 10 — Bluetooth X-Input mode
- PC / PS3 / Switch — Wired via USB cable
- 2.4G wireless — Via USB receiver dongle (select versions)
Operating Specifications
| Specification | Detail |
|---|---|
| Operating Voltage | DC 3.7V |
| Operating Current | ~120mA |
| Charging Input | DC 5V – 500mA (USB-C) |
| Battery Life | ~12 hours continuous play |
| Standby Current | <2µA (deep sleep) |
| Max Standby Time | ~60 days |
| Wireless | Bluetooth 5.0 EDR/BLE + 2.4G (select versions) |
| Grip Width Range | 127mm – 180mm |
Connect to Nintendo Switch
The BSP D6 supports full Switch functionality including gyroscope motion controls and dual rumble — features not available on most third-party controllers.
- On your Nintendo Switch, go to System Settings → Controllers → Change Grip/Order.
- On the D6, press L + R simultaneously.
- Hold the NS button for 5 seconds to enter Switch pairing mode.
- The LED blinks during pairing — wait for it to turn solid blue.
- Pairing complete. For future sessions, a single press of NS reconnects automatically.
💡 Note: Gyroscope and dual rumble features are active in Switch mode. These work in motion-compatible games like Zelda, Splatoon, and Mario Kart without any additional setup.
Connect to Android — ShootingPlus V3 Mode
V3 mode enables advanced touch-mapping through the ShootingPlus V3 app — ideal for mobile shooters like PUBG Mobile, Call of Duty Mobile, and Free Fire where you need to map controller buttons to on-screen touch zones.
- Press and hold the KEY button for 5 seconds to activate V3 mode.
- The LED blinks — enable Bluetooth on your Android device.
- Find and select "D6" in your Bluetooth device list.
- LED turns solid blue when connected.
- For future sessions, a single press of KEY auto-reconnects.
💡 HarmonyOS users: Setup is identical to Android V3 mode above.
Connect to Android — HID Mode
HID mode connects the D6 as a standard gamepad — the most stable option for emulators, RetroArch, and games with native controller support. No app required.
- Press and hold LT + X-Input simultaneously for 5 seconds.
- The LED blinks — scan for Bluetooth devices on your phone.
- Select "D6" from the list.
- LED turns solid white when connected.
- For future sessions, a quick press of X-Input auto-reconnects.
| Android Mode | Button Combo | LED Color | Best For |
|---|---|---|---|
| ShootingPlus V3 | Hold KEY 5s | Solid blue | Mobile shooters, touch-mapping games |
| Standard HID | Hold LT + X-Input 5s | Solid white | Emulators, games with native controller support |
Connect to Windows PC (X-Input / Bluetooth)
On Windows 10 and above, the D6 pairs as an Xbox Wireless Controller — fully compatible with Steam, emulators, and any DirectInput/XInput game.
- Press and hold the X-Input button for 5 seconds to enter PC Bluetooth mode.
- On your PC, go to Settings → Bluetooth & devices → Add device.
- Select "Xbox Wireless Controller" from the list.
- LED stays solid when paired successfully.
- For future sessions, a quick press of X-Input reconnects automatically.
💡 Also works for: Apple MFi games, PS4/PS5 Remote Play, and cloud gaming platforms like Xbox Cloud Gaming — all using this same X-Input Bluetooth mode.
Wired USB Connection
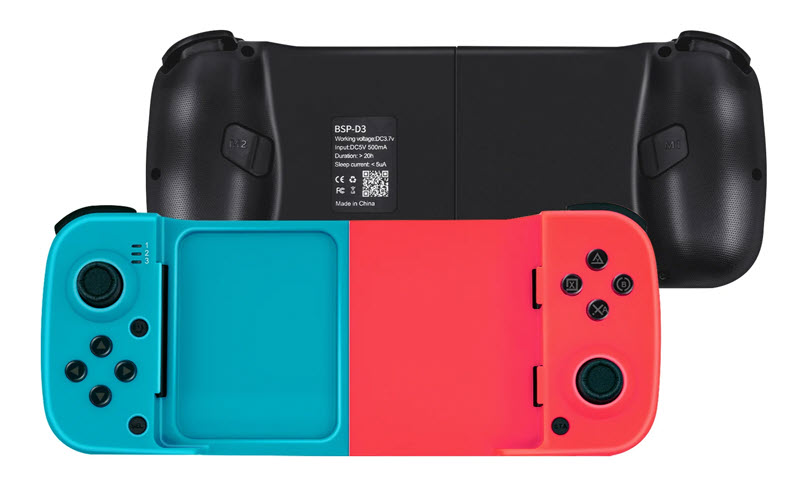
For zero-latency play on PC, PS3, or Nintendo Switch, connect via USB-C cable. The D6 auto-detects the mode based on which input profile you select.
- Plug the USB-C cable into the D6 and connect the other end to your device.
- LED lights up solid — connection is active.
- Select your input mode using the button combinations below:
| Wired Mode | LED Color | Compatible With |
|---|---|---|
| X-Input | Purple | Windows PC, Xbox games, emulators |
| D-Input | Red | Older PC games, PS3 |
| Switch (wired) | Green | Nintendo Switch |
💡 iPad users: Hold the SE button before plugging in the cable to ensure proper recognition.
2.4G USB Receiver Mode
Select versions of the BSP D6 include a 2.4G USB receiver dongle for ultra-low latency wireless on PC — ideal for competitive gaming where every millisecond counts.
- Insert the 2.4G USB receiver into your PC's USB port.
- On the D6, press and hold LB + X-Input to enter 2.4G pairing mode.
- The controller and receiver sync automatically.
- Select your input mode after connecting:
| 2.4G Mode | LED Color |
|---|---|
| X-Input | Purple |
| D-Input | Red |
ShootingPlus V3 App Setup
ShootingPlus V3 unlocks the D6's full potential on Android — letting you visually map controller buttons to any touch point on screen. Essential for games that don't natively support gamepads.
- Download ShootingPlus V3 from the Google Play Store or Huawei AppGallery.
- Connect the D6 in V3 mode (hold KEY 5 seconds).
- Open the app and select your game from the list.
- Drag and position touch markers to match the on-screen buttons for your game.
- Save the layout — it activates automatically next time you launch that game.
Firmware Update via ShootingPlus V3
- Android: Hold the V3 button for 5 seconds, then connect to the app and follow the update prompt.
- iPhone: Hold R3 + V3 simultaneously to enter firmware update mode.
Charging & Battery Status
- LED blinking rapidly — battery is low, connect charger
- LED slow pulse — charging in progress
- LED off — fully charged
💡 Tip: The D6's deep sleep current is under 2µA — if you set it down mid-session, it can hold standby charge for up to 60 days without fully draining.
Advanced Features & Customization
Rumble Intensity Adjustment
Hold TURBO + Right Analog Stick Up to increase rumble strength. Hold TURBO + Right Analog Stick Down to decrease. Adjust to your preference per game.
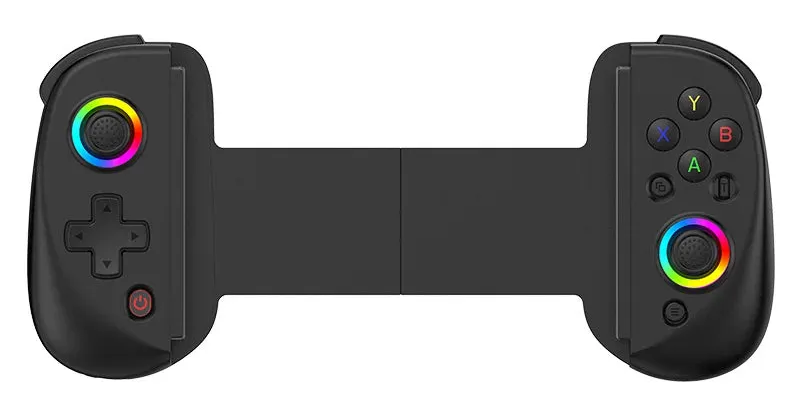
LED Backlight Toggle
Press and hold T + L3 (press the left stick in) to toggle the LED backlight on or off. Turning it off conserves battery during long sessions.
TURBO (Auto-Fire)
- Press any action button (e.g. A), then press TURBO to enable auto-fire on that button.
- Press the same combination again to switch to full Auto-Turbo (fires continuously without holding).
- Press once more to disable.
Auto-fire speed options: 8 / 15 / 25 shots per second. Adjust with TURBO + Left Analog Stick Up/Down.
Joystick Calibration
If your joystick drifts or feels off-center:
- Place the controller flat on a surface.
- Hold the calibration button (KEY, NS, or X depending on active mode) until the LED turns solid.
- Release — LED turns off to confirm calibration is complete.
Analog Stick Swap (Simulation Mode)
Hold the T button for 8 seconds to swap between right joystick and left joystick virtual simulation mode. Repeat to revert. Useful for games that use non-standard stick assignments.
LED Color Reference
| LED State | Meaning |
|---|---|
| Blinking | Pairing / discoverable mode |
| Solid blue | Connected — Switch mode or Android V3 mode |
| Solid white | Connected — Android HID mode |
| Solid purple | Connected — X-Input (wired or 2.4G) |
| Solid red | Connected — D-Input (wired or 2.4G) |
| Solid green | Connected — Switch wired mode |
| Slow pulse | Charging in progress |
| Off (during charge) | Fully charged |
| Rapid blink | Low battery warning |